The Fundamentals of Ultrasonic Inspection for Hastelloy C276 Products
Principles of Ultrasonic Testing
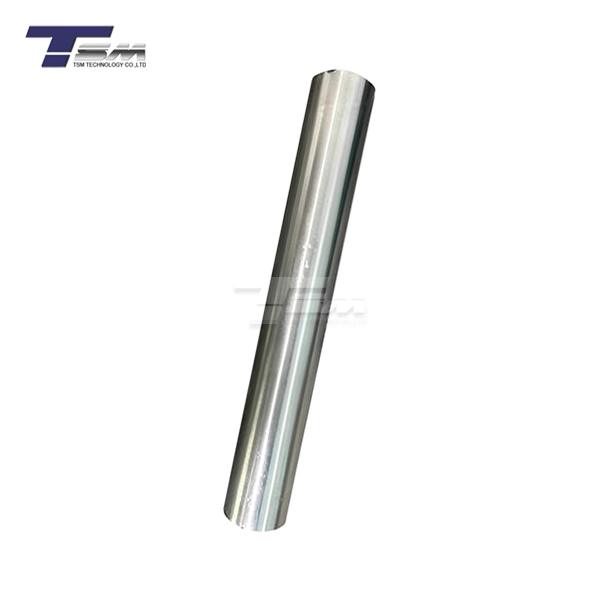
Ultrasonic inspection relies on the propagation of high-frequency sound waves through materials. When these waves encounter discontinuities or defects within the Hastelloy C276 tube or pipe, they reflect to the transducer. This reflection is then analyzed to determine the nature, size, and location of any imperfections. The process is non-invasive and can detect both surface and subsurface flaws, making it an invaluable tool for quality assurance in the production of Hastelloy C276 tubing.

Equipment Used in Ultrasonic Inspection
The ultrasonic inspection of Hastelloy C276 products requires specialized equipment. This typically includes an ultrasonic flaw detector, various transducers, and coupling mediums. Advanced systems may incorporate automated scanning mechanisms and computerized analysis software to enhance accuracy and efficiency. The choice of equipment depends on factors such as the thickness of the Hastelloy C276 seamless pipe, the type of defects being sought, and the specific industry standards that must be met.
Types of Defects Detectable in Hastelloy C276 Tubes
Ultrasonic inspection can identify a wide range of defects in Hastelloy C276 tubing. These include cracks, inclusions, porosity, laminations, and wall thickness variations. The technique is particularly effective at detecting subtle imperfections that might be missed by other inspection methods. This comprehensive defect detection capability is crucial for maintaining the exceptional performance characteristics of Hastelloy C276, especially in applications where material failure could have severe consequences.
Procedure and Methodology for Ultrasonic Inspection of Hastelloy C276 Tubing
Preparation and Calibration
Before conducting an ultrasonic inspection on Hastelloy C276 tubes, proper preparation and calibration are essential. The surface of the Hastelloy C276 seamless pipe must be cleaned to remove any contaminants that could interfere with the ultrasonic waves. Calibration involves using reference standards with known defects to set the sensitivity and accuracy of the equipment. This step ensures that the inspection results are reliable and consistent across different batches of Hastelloy C276 products.
Scanning Techniques for Hastelloy C276 Pipes
Various scanning techniques can be employed depending on the geometry and size of the Hastelloy C276 tubing. Common methods include pulse-echo, through-transmission, and phased array ultrasonic testing. Each technique has its advantages and is chosen based on the specific inspection requirements. For instance, phased array technology allows for more comprehensive coverage and improved detection of orientation-specific defects in Hastelloy C276 seamless pipes.
Data Interpretation and Reporting
Interpreting the data from ultrasonic inspections of Hastelloy C276 tubes requires expertise and experience. Skilled technicians analyze the ultrasonic signals to differentiate between actual defects and benign indications. Advanced software can assist in this process, providing detailed visualizations and automated analysis. The final report typically includes information on the location, size, and nature of any detected flaws, along with an assessment of the Hastelloy C276 product's overall quality and compliance with relevant standards.
Benefits and Limitations of Ultrasonic Inspection for Hastelloy C276 Components
Advantages of Ultrasonic Testing for Hastelloy C276
Ultrasonic inspection offers numerous benefits for quality control of Hastelloy C276 tubing. It provides a high level of sensitivity, capable of detecting minute flaws that could compromise the material's performance. The non-destructive nature of the test allows for 100% inspection of Hastelloy C276 seamless pipes without affecting their usability. Additionally, ultrasonic testing can be automated for high-volume production, ensuring consistent quality across large batches of Hastelloy C276 products.
Challenges in Ultrasonic Inspection of Hastelloy C276
Despite its effectiveness, ultrasonic inspection of Hastelloy C276 tubes does present certain challenges. The material's complex microstructure can sometimes lead to signal attenuation or scattering, requiring careful interpretation of results. Geometric factors, such as the curvature of small-diameter Hastelloy C276 tubing, can also complicate the inspection process. Overcoming these challenges often requires specialized techniques and expertise in both ultrasonic testing and the properties of Hastelloy C276.
Complementary Inspection Methods
While ultrasonic inspection is highly effective, it is often used in conjunction with other non-destructive testing methods to ensure comprehensive quality assurance of Hastelloy C276 products. Techniques such as radiographic testing, eddy current inspection, and visual examination can provide complementary data, offering a more complete picture of the Hastelloy C276 tube or pipe's condition. This multi-method approach is particularly important for critical applications where the reliability of Hastelloy C276 components is paramount.
Conclusion
Ultrasonic inspection plays a crucial role in ensuring the quality and reliability of Hastelloy C276 tubes and pipes. This non-destructive testing method offers unparalleled insight into the internal structure of these high-performance components, detecting flaws that could compromise their integrity. By employing advanced ultrasonic techniques, manufacturers and end-users can confidently verify the excellence of Hastelloy C276 products, supporting their use in demanding industrial applications. As technology continues to evolve, ultrasonic inspection remains an indispensable tool in maintaining the superior standards associated with Hastelloy C276 tubing and seamless pipes.
Contact Us
For more information about our Hastelloy C276 products and our rigorous quality control processes, please contact us at info@tsmnialloy.com. TSM TECHNOLOGY is committed to providing you with the highest quality Hastelloy C276 tubes and pipes, backed by comprehensive testing and inspection.


