Understanding Hastelloy C276 Sheet Properties
Composition and Characteristics
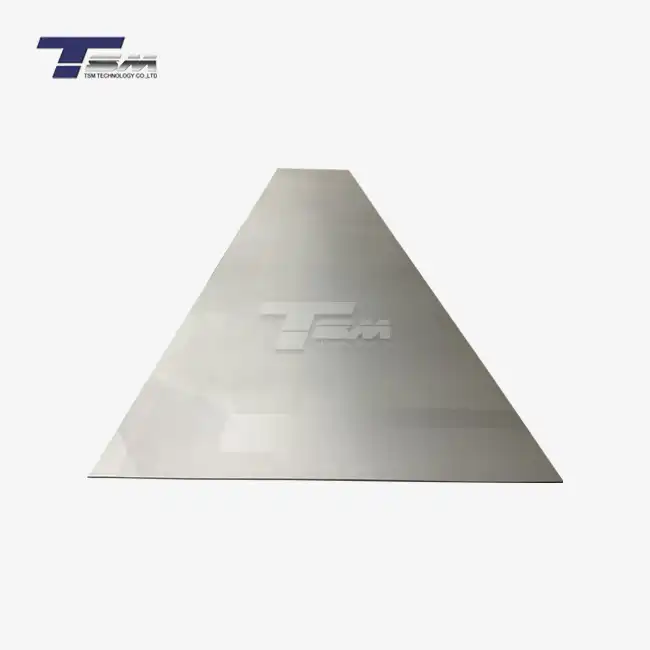
Hastelloy C276 is a nickel-molybdenum-chromium alloy renowned for its exceptional corrosion resistance. Its unique composition, typically including 57% nickel, 16% molybdenum, and 16% chromium, contributes to its superior performance in aggressive chemical environments. This alloy exhibits remarkable resistance to pitting, crevice corrosion, and stress corrosion cracking, making it indispensable in industries where material integrity is paramount.

Mechanical Properties
The mechanical properties of Hastelloy C276 sheet are equally impressive. It maintains high strength and toughness across a wide temperature range, from cryogenic conditions to elevated temperatures exceeding 1000°C. The alloy's yield strength typically ranges from 355 to 455 MPa, with an ultimate tensile strength between 750 and 800 MPa. These properties, combined with its excellent ductility, make Hastelloy C276 sheet an ideal choice for fabricating complex components subjected to severe operating conditions.
Thickness Variations and Tolerances
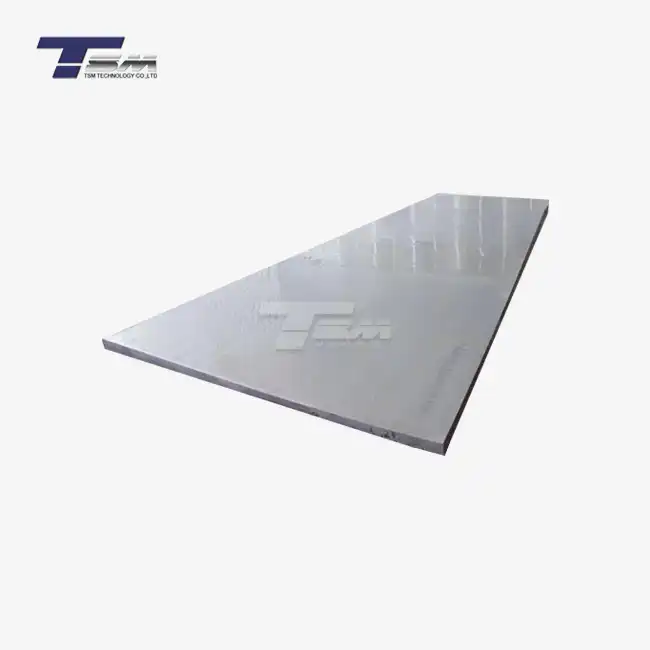
Hastelloy C276 sheets are available in a wide range of thicknesses, typically from 0.1mm to 100mm. Thickness tolerances are critical and vary depending on the sheet's nominal thickness and the manufacturing process. For instance, cold-rolled sheets generally offer tighter tolerances compared to hot-rolled variants. Understanding these tolerances is crucial when selecting appropriate thickness testing methods and interpreting results accurately.
Essential Tools and Equipment for Thickness Testing
Ultrasonic Thickness Gauges
Ultrasonic thickness gauges are non-destructive testing devices that use high-frequency sound waves to measure material thickness. These instruments are particularly useful for Hastelloy C276 sheets, as they can provide accurate measurements without damaging the material. Advanced models can measure thicknesses ranging from 0.1mm to over 100mm with precision up to ±0.001mm. When selecting an ultrasonic gauge for Hastelloy C276, ensure it's calibrated for the alloy's specific sound velocity to guarantee accurate readings.
Micrometers and Calipers
Precision micrometers and calipers are indispensable tools for direct thickness measurements of Hastelloy C276 sheets. Digital micrometers offer resolutions as fine as 0.001mm, making them suitable for sheets up to 25mm thick. For thicker sheets, specialized micrometers or calipers with extended range capabilities are necessary. When using these tools, it's crucial to ensure proper calibration and to take multiple measurements across the sheet to account for any thickness variations.
Optical Comparators and 3D Scanners
For more comprehensive thickness analysis, optical comparators and 3D scanners offer advanced capabilities. Optical comparators project a magnified image of the sheet's cross-section, allowing for precise edge-to-edge measurements. 3D scanners, on the other hand, can create detailed thickness maps of entire sheets, revealing any inconsistencies or variations across the surface. These tools are particularly valuable for quality control processes and when working with Hastelloy C276 sheets that have complex geometries or require tight tolerances.
Step-by-Step Thickness Testing Procedures
Preparation and Calibration
Before initiating thickness tests on Hastelloy C276 sheets, thorough preparation is essential. Begin by cleaning the sheet surface to remove any contaminants that could affect measurements. For ultrasonic testing, apply a suitable couplant to ensure good acoustic transmission. Calibrate your measuring instruments using certified calibration blocks that match Hastelloy C276's acoustic properties. This step is crucial for achieving accurate and repeatable results, especially given the alloy's unique composition and sound velocity characteristics.
Measurement Techniques
When using ultrasonic gauges, place the transducer firmly against the Hastelloy C276 sheet, ensuring full contact. Take multiple readings across the sheet, paying particular attention to edges and corners where thickness variations are more likely. For micrometer measurements, gently close the spindle onto the sheet, avoiding excessive pressure that could compress the material. With optical comparators, carefully align the sheet's edge with the reticle for precise edge-to-edge measurements. Regardless of the method, always take multiple measurements to establish a representative average thickness.
Data Recording and Analysis
Accurate data recording is paramount in thickness testing. Document each measurement along with its precise location on the Hastelloy C276 sheet. For larger sheets, consider creating a grid system to map thickness variations systematically. When analyzing the data, look for patterns or inconsistencies that might indicate manufacturing issues or areas of concern. Compare your results against the specified tolerances for Hastelloy C276 sheets, typically ranging from ±0.1mm for thinner sheets to ±0.5mm for thicker plates. Any deviations should be thoroughly investigated and addressed to ensure the sheet meets quality standards.
Conclusion
Mastering the art of thickness testing for Hastelloy C276 sheets is essential for maintaining the highest standards of quality and reliability in corrosion-resistant applications. By employing a combination of advanced tools and meticulous procedures, manufacturers and quality control professionals can ensure that every sheet meets the exacting specifications required for critical industries. Remember, consistent and accurate thickness measurements are not just about compliance; they're fundamental to the performance and longevity of components made from this exceptional alloy. As technology evolves, staying updated with the latest testing methods will continue to be crucial in leveraging the full potential of Hastelloy C276 in challenging environments.
FAQs
What is the typical thickness range for Hastelloy C276 sheets?
Hastelloy C276 sheets are available in thicknesses ranging from 0.1mm to 100mm, catering to a wide variety of industrial applications.
How often should thickness testing equipment be calibrated?
Calibration frequency depends on usage but is typically recommended at least annually or before critical projects.
Can ultrasonic testing be used on all Hastelloy C276 sheet thicknesses?
Yes, ultrasonic testing is versatile and can be used on a wide range of thicknesses, from very thin sheets to thick plates.
Get Premium Hastelloy C276 Sheets for Your Project | TSM TECHNOLOGY
At TSM Technology, we specialize in providing top-quality Hastelloy C276 sheets tailored to your exact specifications. Our state-of-the-art manufacturing facility, equipped with advanced machinery and rigorous quality control processes, ensures that every sheet meets the highest industry standards. With our extensive experience and global distribution network, we're committed to delivering superior alloy products that exceed your expectations. For expert guidance on Hastelloy C276 sheet selection and thickness specifications, contact our team at info@tsmnialloy.com.
References
ASTM International. (2021). "Standard Specification for Low-Carbon Nickel-Molybdenum-Chromium, Low-Carbon Nickel-Chromium-Molybdenum, Low-Carbon Nickel-Chromium-Molybdenum-Copper, Low-Carbon Nickel-Chromium-Molybdenum-Tungsten, and Low-Carbon Nickel-Molybdenum-Chromium-Tungsten Alloy Plate, Sheet, and Strip"
American Society for Nondestructive Testing. (2020). "Handbook of Nondestructive Evaluation, Fourth Edition"
Haynes International. (2022). "Hastelloy C-276 alloy: Technical Data Sheet"
Journal of Materials Engineering and Performance. (2019). "Corrosion Behavior of Hastelloy C-276 in Aggressive Environments"
International Journal of Precision Engineering and Manufacturing. (2021). "Advanced Techniques for Thickness Measurement in Metal Sheets and Plates"
Materials Science and Engineering: A. (2020). "Microstructure and Mechanical Properties of Hastelloy C-276 Sheets Processed by Different Thermomechanical Treatments"


